Glass
How to Replace a Window Pane in a Wooden Frame
Jun
Wooden windows bring charm and insulation to any home, and learning how to replace a window pane in a wooden frame can help you preserve both their beauty and functionality. This step-by-step guide walks you through safe removal, measurement, and reglazing for lasting results.
When Is Glass Replacement in Wooden Frames Necessary?
- Cracked, chipped, or shattered glass
- Air drafts or rattling sounds
- Fogging between panes (for older-style double glazing)
- Loose putty or missing glazing points
If the frame is still in solid condition, you can replace just the glass—no need for a full window unit.
Tools & Materials You’ll Need
- Replacement glass pane, cut to size
- Measuring tape
- Putty knife or glazing tool
- Glazier’s points or small nails
- Utility knife
- Linseed oil (optional)
- Glazier’s putty or glazing compound
- Small hammer
- Safety gloves and goggles
- Sandpaper (medium/fine)
Step-by-Step:How to Replace a Window Pane in a Wooden Frame
✅ 1. Measure the Glass Pane Area
- Measure the visible opening from edge to edge
- Subtract 3–4 mm to allow for movement and putty
- Have the replacement glass pane cut to these exact dimensions
- Most standard window glass is 3mm or 4mm thick
📌 Tip: If your old pane is intact, use it as a template.
✅ 2. Remove the Broken or Old Glass
- Wear gloves and safety glasses
- Use a putty knife and utility blade to remove old putty and glazing points
- Gently pry out the old glass; if broken, tape over cracks before removing
- Clean out the glazing rabbet (recess in the wood)
Optional: Wipe with linseed oil to improve putty adhesion.
✅ 3. Prepare the Frame for the New Pane
- Sand the rabbet smooth and free of debris
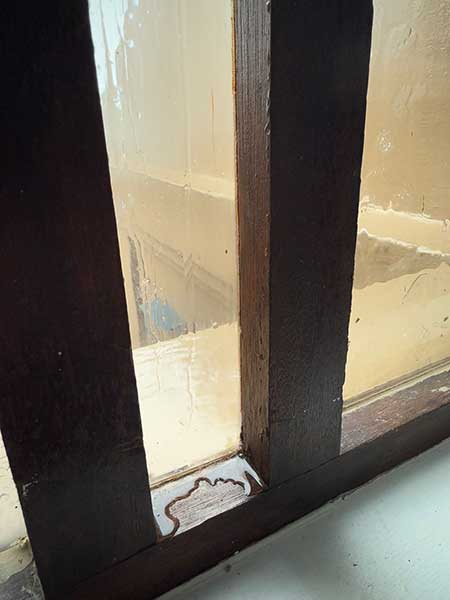
- Check for rot or moisture damage—repair if necessary
- Apply a thin bead of glazing putty to the base of the rabbet
- Press the new glass gently into place
✅ 4. Secure the Glass with Glazier’s Points
- Insert glazier’s points (or push-in clips) every 10–15 cm along each side
- Use a putty knife or small hammer to press them flush
- These hold the glass securely while the top putty cures
🛠️ For older-style windows, you can use small brads (nails) set at an angle.
✅ 5. Apply the Final Layer of Glazing Putty
- Roll the putty into a rope and press it over the edge of the glass
- Smooth it at a 45-degree angle with a putty knife
- Work continuously around the pane for a clean, uniform finish
- Remove excess putty and tool again for neat edges
📌 Allow putty to skin over (typically 7–10 days) before painting.
✅ 6. Finishing Touches
- Paint over the putty with oil-based paint for waterproofing
- Make sure the paint slightly overlaps onto the glass to seal the edge
- Let everything cure completely before cleaning or handling
When to Replace the Whole Frame Instead
- The wood is rotted or cracked beyond repair
- Window won’t open or close properly
- Repeated moisture damage or poor sealing
- You want to upgrade to double-glazed or energy-efficient windows
Estimated Cost (South Africa)
| Item | Estimated Price (ZAR) |
| Single glass pane | R150 – R400 |
| Glazier’s putty (500g) | R50 – R80 |
| Glazier’s points (pack) | R30 – R60 |
| Labour (if outsourced) | R350 – R800 |
Final Thought
Replacing a window pane in a wooden frame doesn’t need to be complicated. With a steady hand, the right tools, and attention to detail, you can complete the job yourself and maintain the timeless charm of your timber windows.