Glass
How to Measure Window Glass Accurately for Replacement
Jun
How to measure window glass accurately for replacement depends on the frame type, glass style, and installation method. Whether you’re replacing a cracked single pane or a fogged-up double-glazed unit, taking precise measurements ensures a perfect fit and saves you time, money, and frustration.
Why Accurate Window Glass Measurement Matters
- Ensures a proper fit with no gaps
- Prevents stress cracks caused by tight fits
- Saves money by avoiding waste or re-orders
- Helps glaziers or suppliers cut and deliver exact sizes
- Reduces installation issues and improves energy efficiency
Tools You’ll Need
- Measuring tape (preferably metal and metric)
- Pen and notepad or digital device
- Straightedge or ruler (optional)
- Safety gloves (if measuring around broken glass)
- Flashlight (for shadowy or tight frames)
Step-by-Step: How to Measure Window Glass Accurately for Replacement
✅ 1. Identify the Frame Type
Different frame types affect how you measure:
| Frame Type | Measurement Reference |
| Wooden/putty-glazed | Inside the rebate |
| Aluminium/UPVC | Visible glass + depth |
| Glazing bead system | Inside bead-to-bead size |
Determine whether you’re measuring just the glass or the entire system (especially for IGUs or clip-in panels).
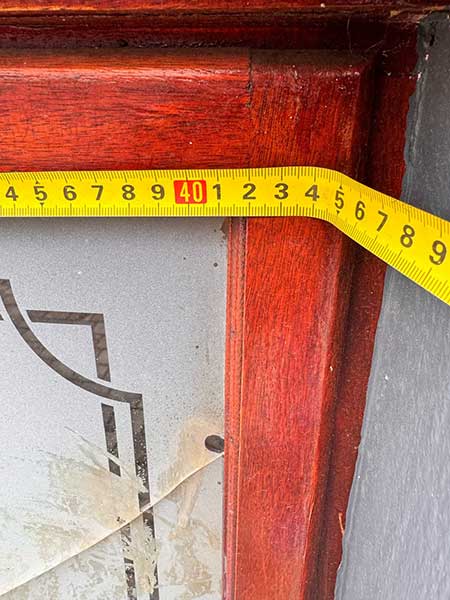
✅ 2. Measure the Width and Height
- Measure inside the frame, bead-to-bead, or putty edge to edge
- Take three measurements for both width and height
- Width: top, middle, bottom
- Height: left, centre, right
- Use the smallest value
- Deduct 2–3 mm from width and height to allow for expansion, especially for metal frames.
📌 Tip: Always use a metric measuring tape in millimetres.
✅ 3. Measure the Glass Thickness (Optional)
- For single-pane glass, standard thickness is 3mm to 6mm
- For double-glazed units, use:
- Spacer bar reading (typically 6mm, 12mm, 16mm)
- Digital caliper or IGU thickness gauge (glaziers have these)
📌 Tip: If unsure, take the old glass to a supplier for matching.
✅ 4. Record the Glass Type (if known)
- Clear, frosted, tinted, low-E, or laminated
- If in a door, bathroom, or low window: may require safety glass
- Look for any factory markings or etchings on the edge
✅ 5. Photograph or Sketch the Window
- Snap a photo of the opening and frame for reference
- Sketch basic diagrams with labelled dimensions
- If ordering multiple panes, include location codes (e.g., BED1-W1)
This helps avoid mix-ups during delivery or installation.
Bonus: Measuring for IGU Replacement
When replacing an insulated glass unit (IGU), record:
- Visible width and height (in mm)
- Overall thickness (glass + spacer)
- Spacer bar type or colour (for aesthetics and matching)
- Gas fill or coatings (if applicable for energy efficiency)
Measuring Tips
- Always measure in millimetres for accuracy
- Double-check measurements before placing orders
- If measuring a broken pane, measure the opening, not the shard
- Round down, not up, to ensure the pane fits inside the rebate or beads
- When unsure, request on-site measuring from a glass supplier
Sample Measurement Sheet
| Pane Code | Width (mm) | Height (mm) | Thickness | Glass Type | Notes |
| KITCH-W1 | 1200 | 900 | 6mm | Clear | Single fixed pane |
| BED2-W3 | 600 | 1000 | 16mm | Double-glazed | Spacer: silver |
Final Notes
Whether you’re a homeowner or contractor, accurate measuring ensures your window glass replacement is safe, snug, and energy-efficient. Always double-check dimensions, use the right tools, and refer to your measurements before ordering or installing new panes.